
I have spent 15 years in the sport of powerlifting, and hundreds of hours researching and testing the best products on the market.
On this page, you'll find my battle-tested reviews and recommendations.
My goal is to give you an informed take on what's useful, what's going to help your training and avoid anything that may be overhyped.
These are the product and gear that I've used myself. In doing these reviews, I've also consulted with top experts in powerlifting to figure out what really matters when it comes to quality and performance.
5 Best Lifting Shoes for Beginners
If you’re new to the gym or just getting started with powerlifting, one of the best investments you can make is a pair of good
7 Best Toe Shoes for Working Out: Pros, Cons, Reviews
The best toe shoes help you lift heavy weights because they offer a stable platform: the ground. This helps keep you balanced, unlike some shoes
I Tried Buff Dudes 12-Week Program, So You Don't Have To
Uh-oh, we found a program that isn’t exactly a powerlifting program. The Buff Dudes 12-Week Program is a popular program that is used to gain
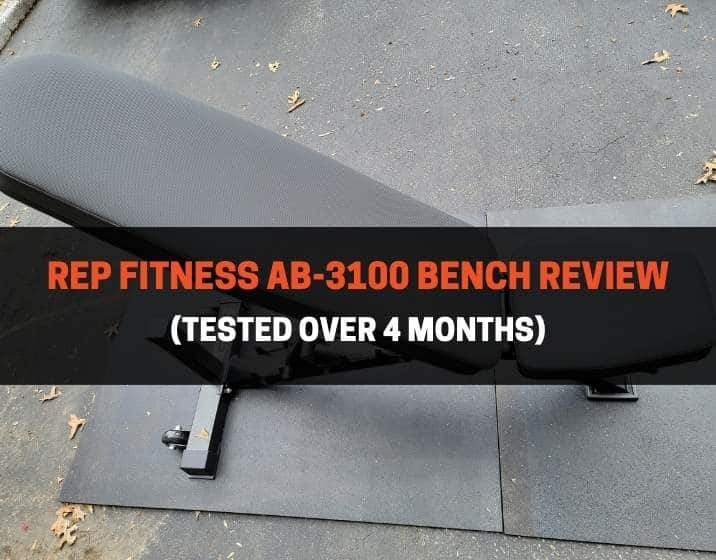
Rep Fitness AB-3100 Bench Review (Tested Over 4 Months)
In addition to a sturdy squat rack and a high-quality barbell, a solid bench is a necessity in any home gym. I’ve been using the
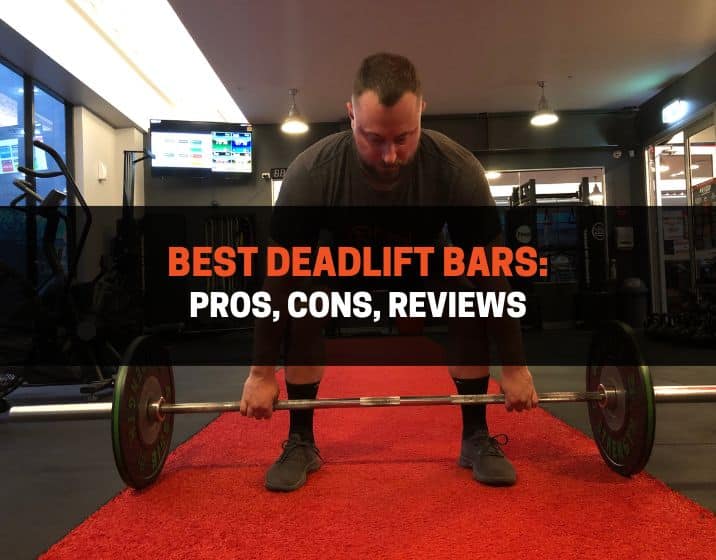
8 Best Deadlift Bars: Reviews, Pros, & Cons
With so many barbells on the market, knowing which ones are best for deadlifts can be difficult. New equipment companies continue popping up left and
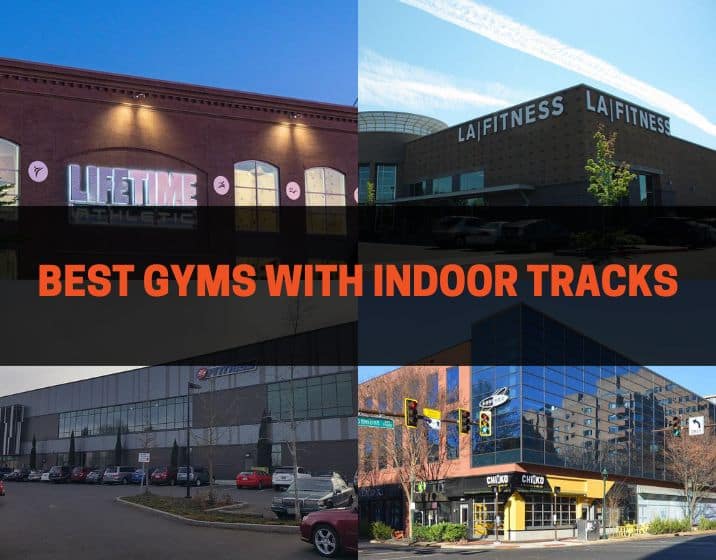
5 Best Gyms With Indoor Tracks: Costs & Amenities
Most gyms have adequate weightlifting and cardio equipment. However, few provide access to an indoor track. That's why we sent our writer, Amanda Dvorak, to
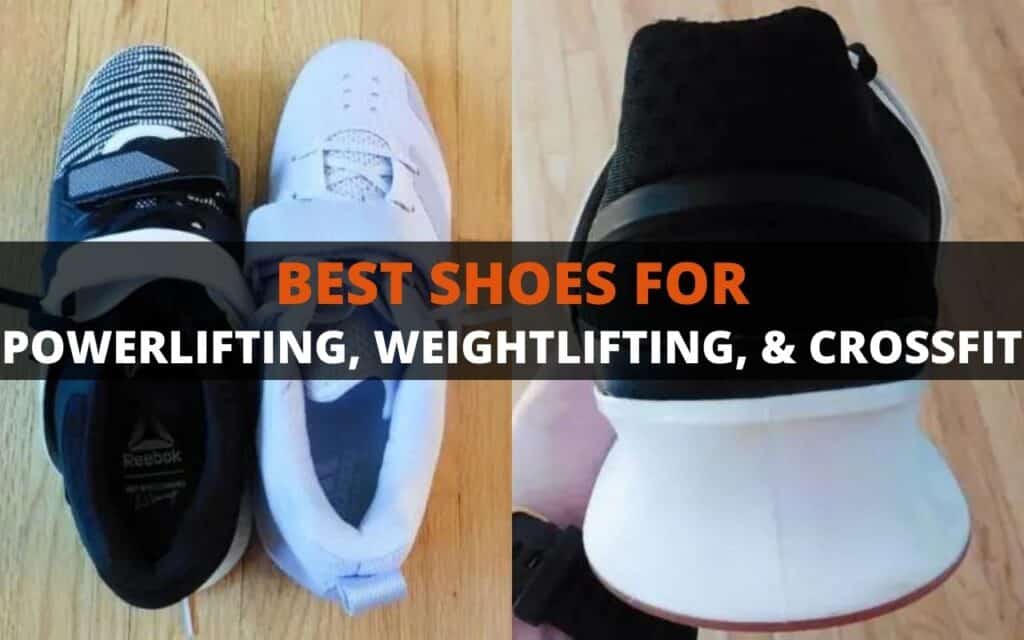
10 Best Weightlifting Shoes for Every Type of Lifter
The best shoes for weightlifting are the Reebok Legacy Lifter II because they have a very supportive, wide metatarsal strap positioned in just the right
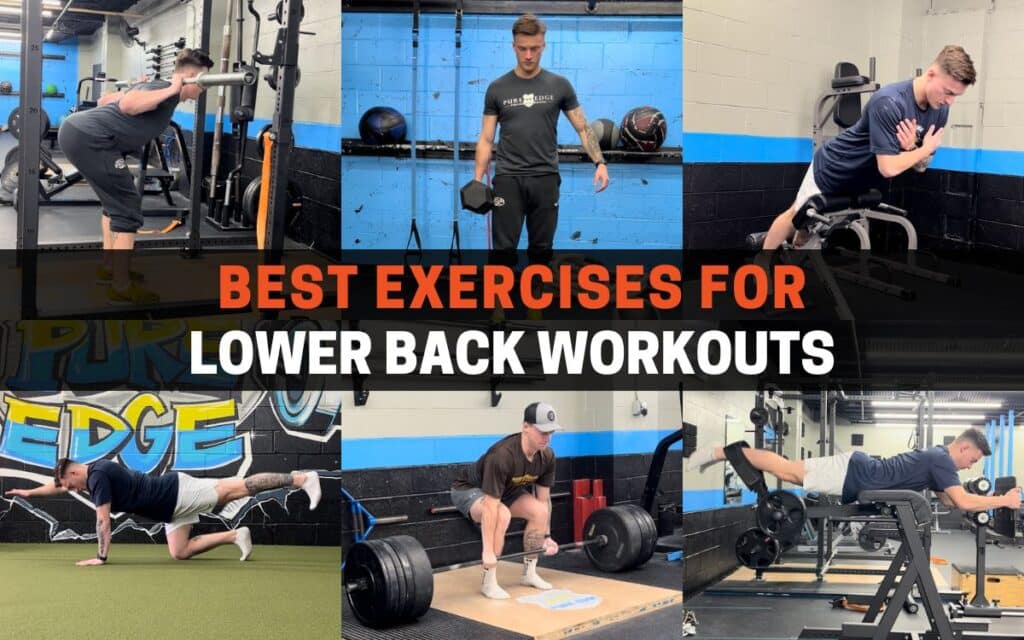
9 Best Exercises for Lower Back Workouts
A strong, stable lower back is your foundation for upper-body and lower-body movements. However, exercise selection and form mistakes can cause lower back pain and
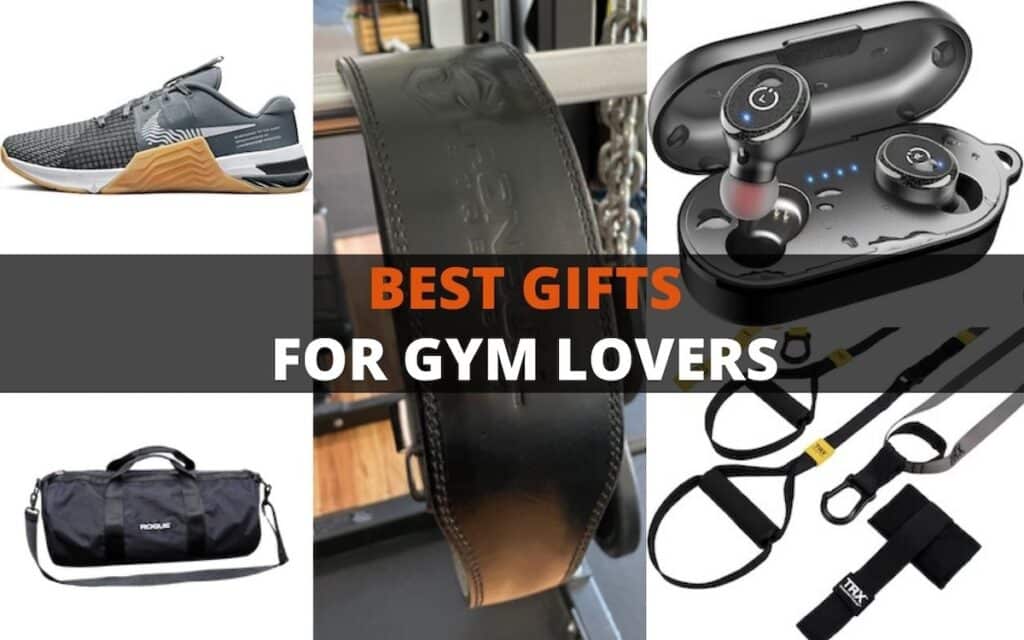
8 Best Gifts For Gym Lovers From A Trainer & Coach
The best overall gift you can get for a gym lover is the Iron Bull 7 MM weight-lifting belt. A good quality belt like this
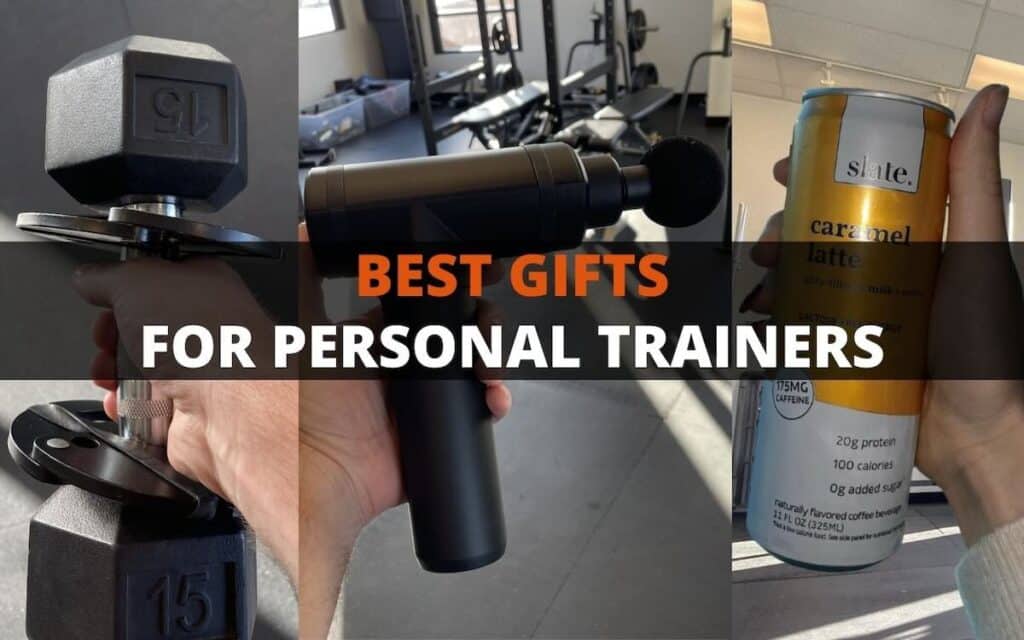
11 Best Gifts For Your Personal Trainer For Any Budget
As a personal trainer, I always find it touching when a client gets me a gift. Whether it be a birthday gift, for the holidays,
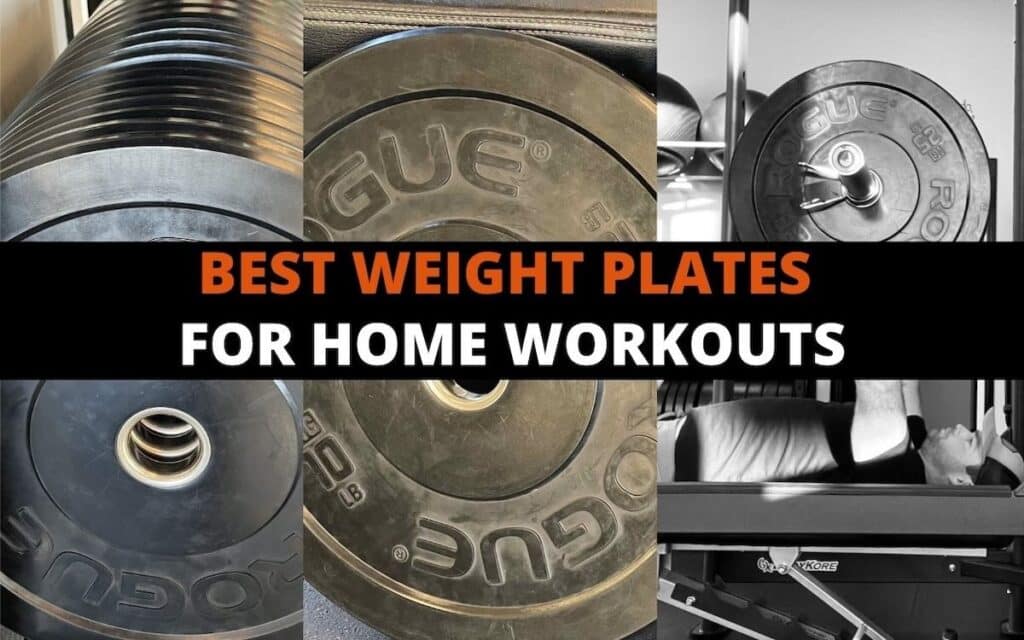
11 Best Weight Plates for Home Workouts
Getting the right weight plates is essential for building a decent home gym, and you’ll want to avoid lower-quality options that’ll break within a year.
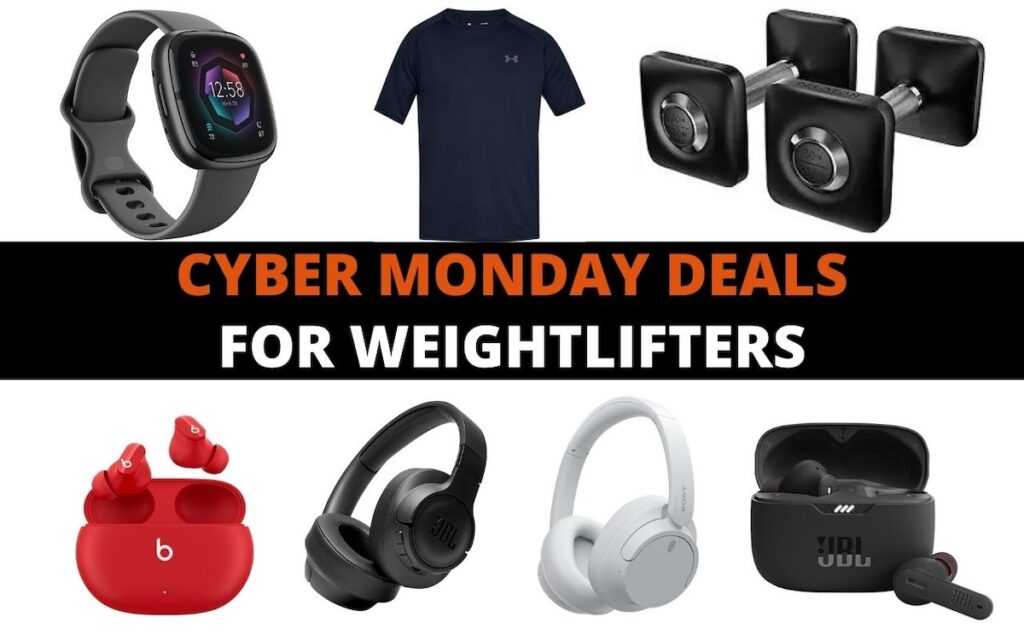
Cyber Monday Deals for Weightlifters (2024)
[Cyber Monday has ended for 2023, so we'll update this for 2024] As major retailers slash prices for Cyber Monday, weightlifters can snag some of
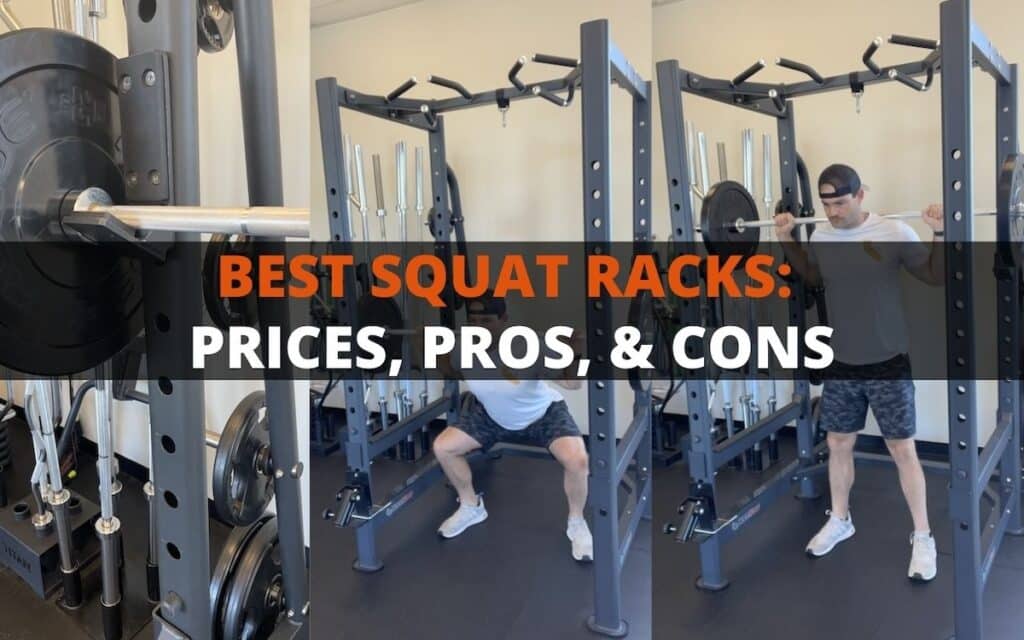
11 Best Squat Racks: Prices, Pros, Cons
Before opening my gym in Westminster, California, I did a lot of research on the best squat racks. Most aren't cheap, so to help you
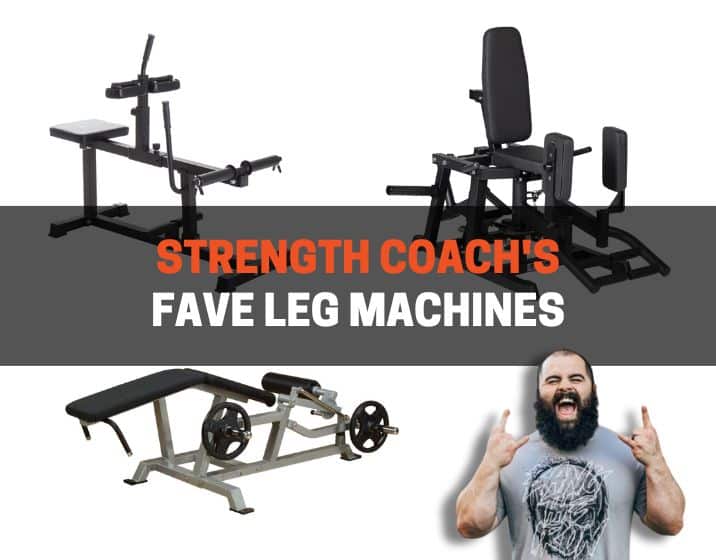
8 Best Leg Workout Machines At The Gym: Top Coach's Picks
Let’s dive straight in. Here is my list of the 8 best leg workout machines: Leg day gets a bad reputation for a good reason:
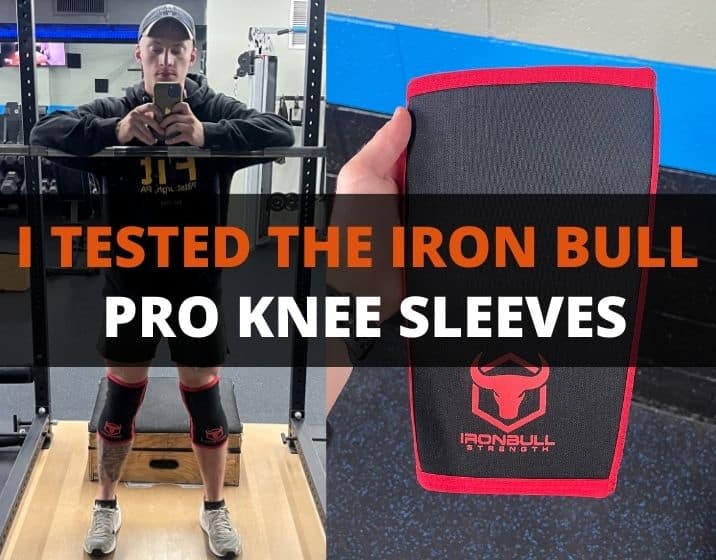
Iron Bull Strength Pro Knee Sleeves Review: Pros & Cons
The Iron Bull Strength Pro Knee Sleeves are a piece of weightlifting equipment that many lifters use. Powerlifters, bodybuilders, and the everyday lifter can use
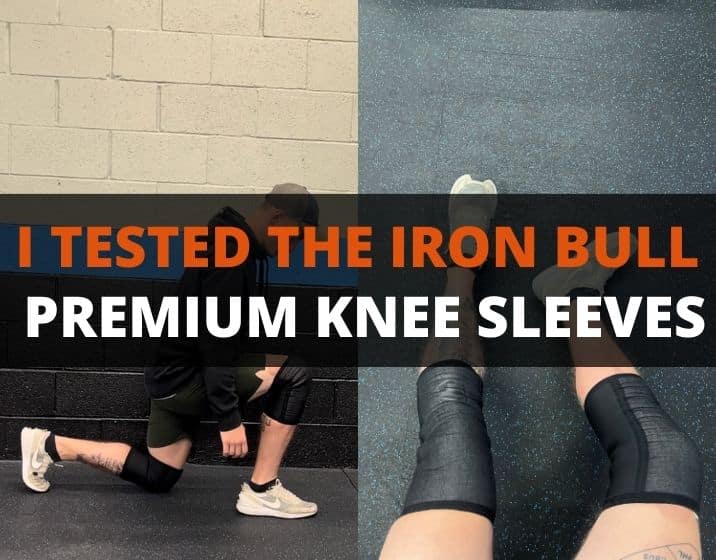
Iron Bull Strength Premium Knee Sleeves Review
As someone who loves leg day, I knew I needed extra support through my knees on my heaviest of lifts. I was immediately drawn to

iHerb Review: Is It Trustworthy?
PowerliftingTechnique.com is independent and supported by our readers. We may earn a commission if you buy through the links below. For more, see our disclosures
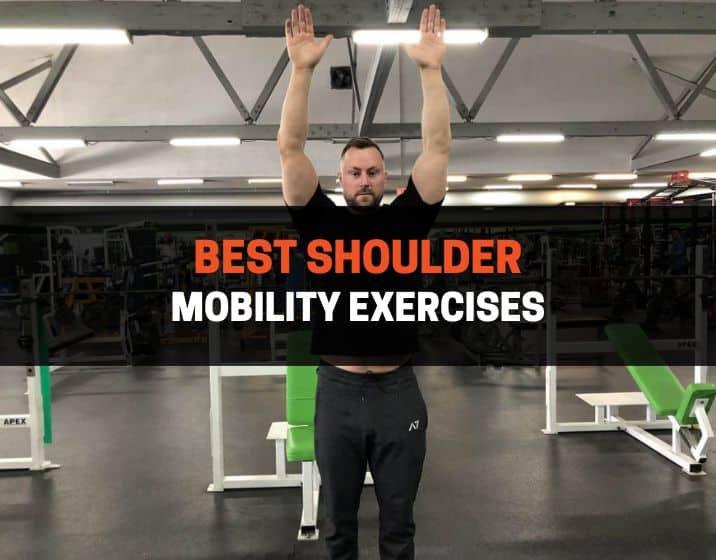
10 Best Shoulder Mobility Exercises: How-Tos, Benefits, Tips
Shoulder mobility exercises are essential for maintaining a full range of motion and promoting overall shoulder health. If you’re tight after a long day at
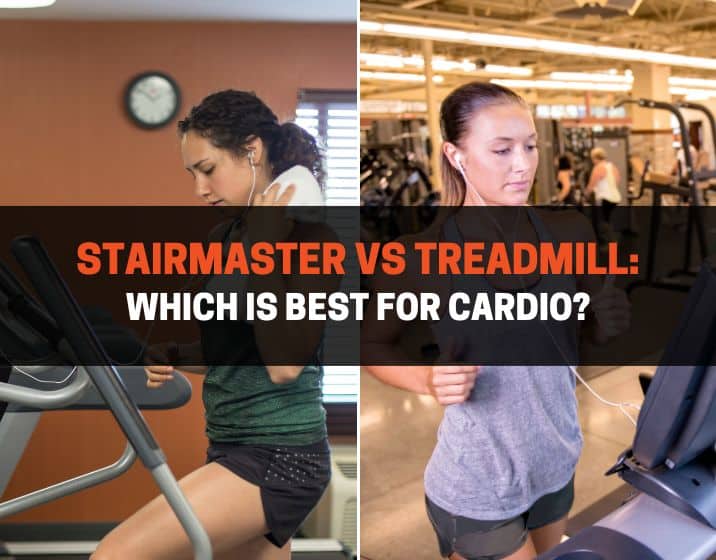
Stairmaster vs Treadmill: Which Is Best for Cardio?
The Stairmaster and the treadmill are both hugely popular cardio machines that you’ll find in most gyms. Although both effectively improve your cardiovascular fitness and

5 Best Gym Machines For Glutes: How To Sculpt Your Booty
The best gym machines for your glutes can help sculpt those coveted booty muscles. Strong glutes look great and are important for overall lower body